Running scenarios
This page walks you through the process of running scenario files on MORAI Scenario Runner.
A prerequisite to fully simulating a scenario is the simulator itself. Along with the Scenario Runner module, a compatible version of MORAI SIM: Drive is necessary.
Installing MORAI SIM: Drive
Check the version compatibility of your workstation’s operating system with Scenario Runner before downloading MORAI SIM: Drive.
Download MORAI SIM: Drive from the download page.
Select a version from the release list on the left, then click Install on the bottom right.
After installation finishes, click the Start button that should appear (replacing the Install button) on the bottom right.


Full download instructions and troubleshooting can be found in the MORAI SIM: Drive installation manual.
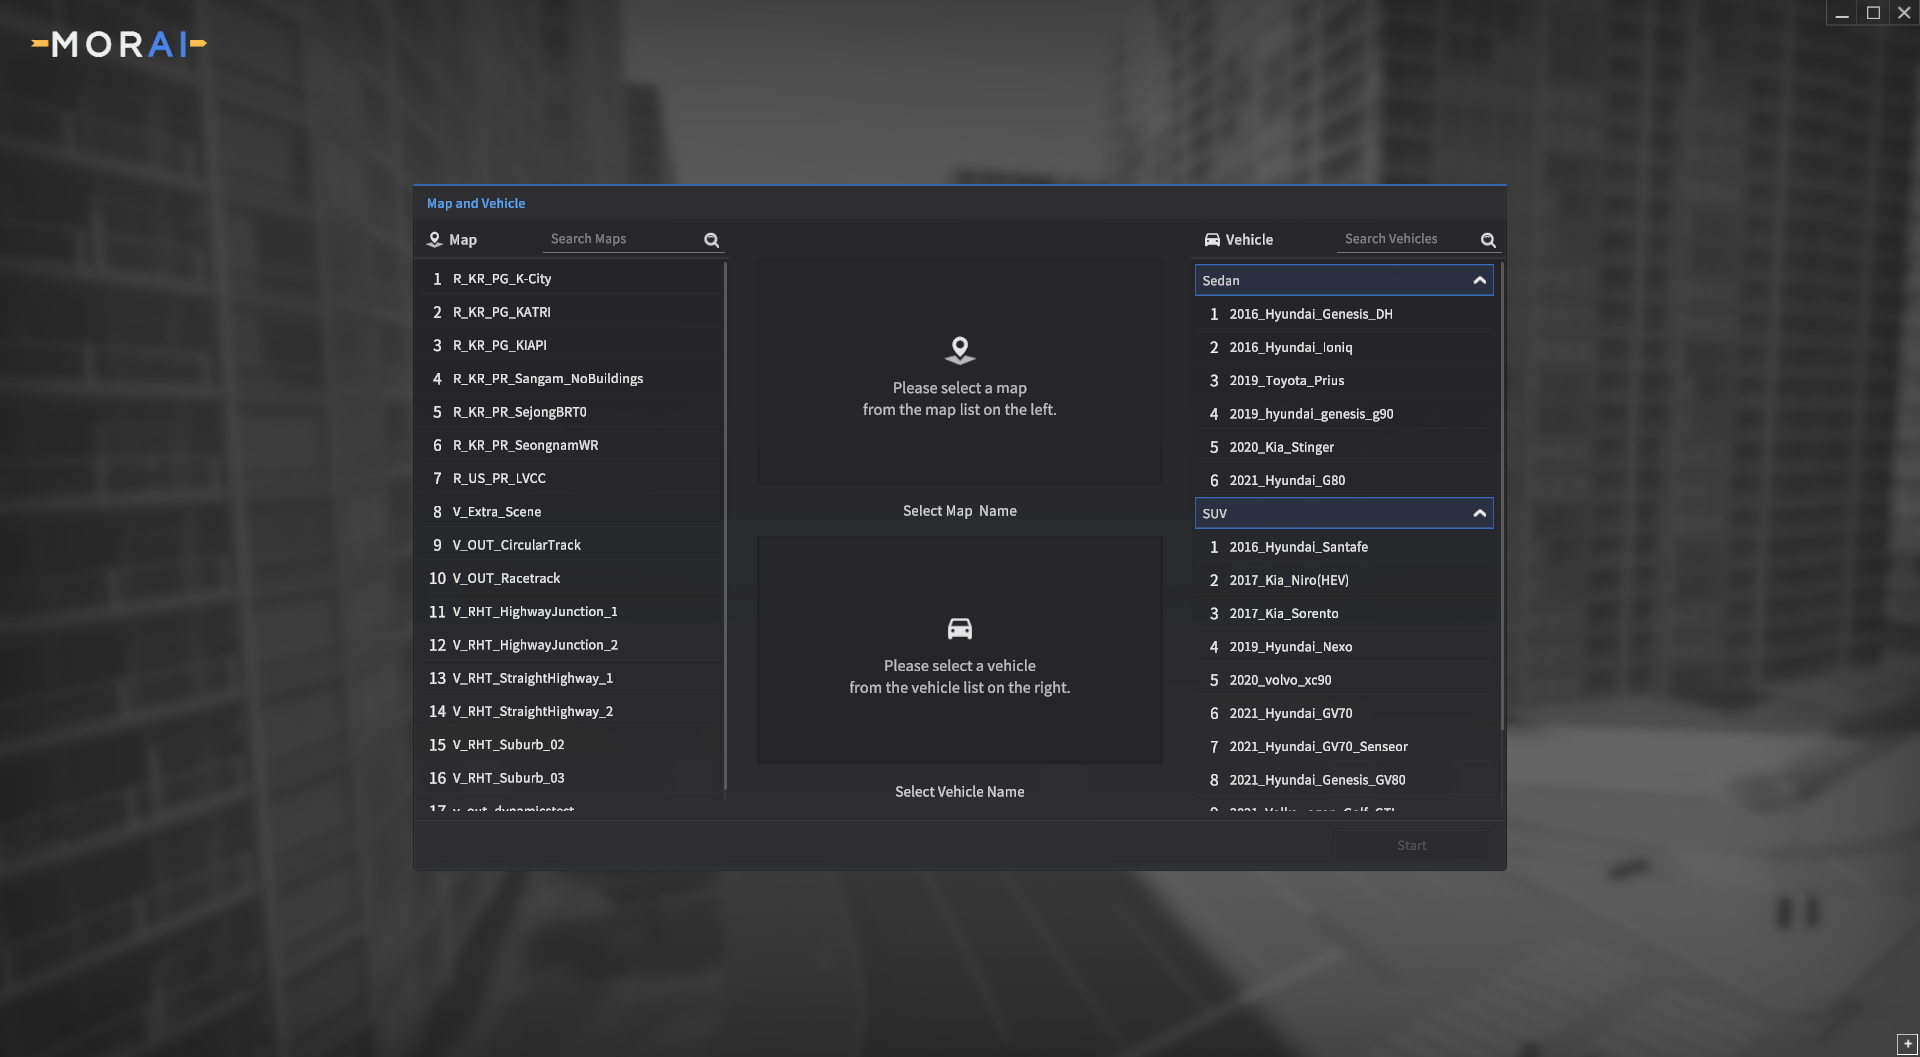
Once the Map and Vehicle selection screen appears, the simulator is ready to connect with the Scenario Runner.
Running scenarios
Once the scenario files are loaded into the Scenario Runner (see the Loading scenarios page), follow the steps below to start the scenario in MORAI SIM: Drive.
Go to Run >> Start Scenario on the Scenario Runner menu bar.
Choose the Ego vehicle control method from the following options.
1. Built-in
- the ego vehicle in Scenario Runner. Utilizes the same logic as NPC vehicles, and the ego vehicle is controlled according to the defined scenario.
2. MORAI SIM: Drive
- In Scenario Runner, only the initial state of the ego vehicle is defined. Subsequent driving follows the logic of MORAI SIM: Drive. The vehicle does not follow the defined scenario.
3. External
- In Scenario Runner, only the initial state of the ego vehicle is defined. The ego vehicle is not separately controlled for validation of user(Optional) You can choose additional start options
1. Spawn vehicles in LinkPosition
- Places vehicles on the nearest road from the given position to ensure that the vehicle is positioned precisely in the center of the road. Useful when the exact location or orientation of the vehicle is unknown.
2. Synchronous mode
- Runs the simulator frame by frame without real-time simulation, ensuring that all vehicles receive control command updates once per loop. Useful when handling multiple vehicles results in degraded real-time control performance or when a more consistent simulation result is needed.
Purpose and Usage of Ego Vehicle Control Function
This function is designed to validate the proper execution of scenarios involving NPC vehicles that need to navigate based on the state of the EGO vehicle during the scenario creation process. (Example: Verifying the proper execution of a Synchronize Action that NPC vehicles must perform simultaneously with the EGO vehicle upon arrival at an intersection)
After validating scenarios, during the phase of verifying user autonomous driving logic, the External Mode is activated to directly control the EGO vehicle.

Once the scenario runner initiates the scenario, MORAI SIM: Drive will automatically load the target map, then immediately runs the scenario. The NPC cut-in example is pictured below.
Execution of the 'Cut In' Scenario Example
Batch Simulation
Scenario Runner provides a batch simulation feature that sequentially performs simulations for multiple scenario files.
Load the list of scenarios you want to simulate using the 'Add' or 'Load Test Suite' button.
Perform batch simulation with 'Start Simulation’.
explanations for the buttons
(1) Load Test Suite: Loads a saved Test Suite file (.json).
(2) Save Test Suite: Saves the current list of scenarios as a Test Suite file (.json).
(3) Add: Adds an individual scenario file (.xosc) to the list.
(4) Delete: Deletes the highlighted scenario from the list.
(5) ↑: Moves the highlighted scenario up in the list.
(6) ↓: Moves the highlighted scenario down in the list.
(7) Select All: Selects or deselects all scenarios.
(8) Start Simulation: Performs simulations sequentially for the selected scenarios.
(9) Stop Simulation: Stops all ongoing simulations.
(10) →|: Stops the current simulation and starts the simulation for the next scenario.
Batch simulation automatically proceeds to the next simulation when the simulation for one scenario is completed. If there is no simulation termination condition written in the scenario file (.xosc) under Storyboard > StopTrigger or Evaluation, the following warning occurs. If you choose to ignore this and proceed, you will need to manually terminate the simulation
Simulation for Individual Scenarios through the Batch Simulation Window
You can perform simulations for individual scenarios by right-clicking on the specific scenario in the Batch Simulation window's scenario list.
Ending a scenario
To restart the scenario or to load a new scenario, the current scenario must be stopped beforehand.
Depending on the simulation start method, you can terminate an ongoing simulation in the following two ways
Click on 'Run' > 'Stop Simulation' to halt the ongoing simulation.
Click on the 'Stop Simulation' button in the 'Batch Simulation' tab to stop the ongoing batch simulation
Stopping the Simulation via 'Run' > 'Stop Simulation' Menu
